Deploy and Interact with Contracts
Build
Inside the directory of your projects, build the contract:
cargo contract build --release
Check out the ink! documentation for detailed information on the build process and the build artifacts.
Deploy the contract
We will use the //Alice signer as a default account to deploy contracts. The Alice account is a pre-defined and pre-funded account.
Deploy it via the UI
- Go to the contracts UI
- Click "Upload a new contract"
- Select a name for your contract
- Upload the contract bundle, e.g.,
hello_world.contract - Click "Next"
- Click "Upload and instantiate"
Deploy it via the CLI
Deploy and instantiate the contract to the local testnet:
cargo contract upload --suri //Alice
cargo contract instantiate --suri //Alice --args <your-args>
Check out the ink! tutorial for more details.
Success
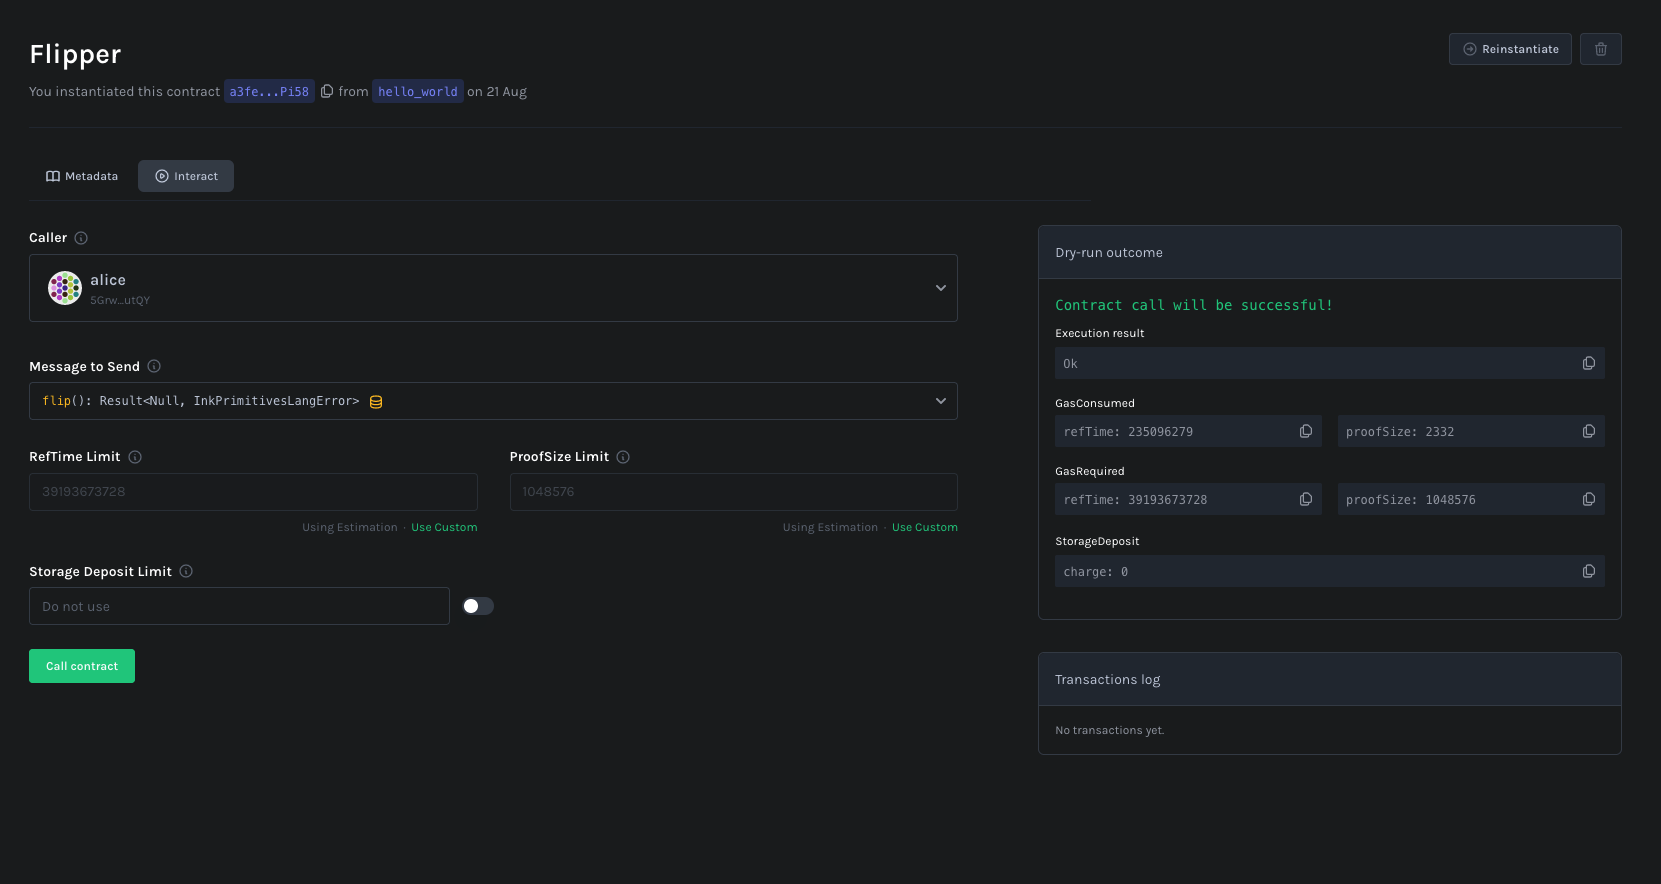
You should now see the deployed contract.

Interact
The instantiation process returns the contract address. You can use this address to interact with the contract.
Interactions with contracts can be either be reads on the contract state or writes that trigger a state transition.
- Reads: Free calls that do not require a transaction. They are executed locally and do not change the state of the contract.
- Writes: Calls that require a transaction. They are executed on the network and change the state of the contract.
Interact via the UI
- Go to the contracts UI
- You should see the deployed contracts in the left-hand navigation
- Click on the contract you want to interact with
Interact via the CLI
Interact with the contract on the local testnet:
cargo contract call --contract <address> --message <function_name> --suri //Alice